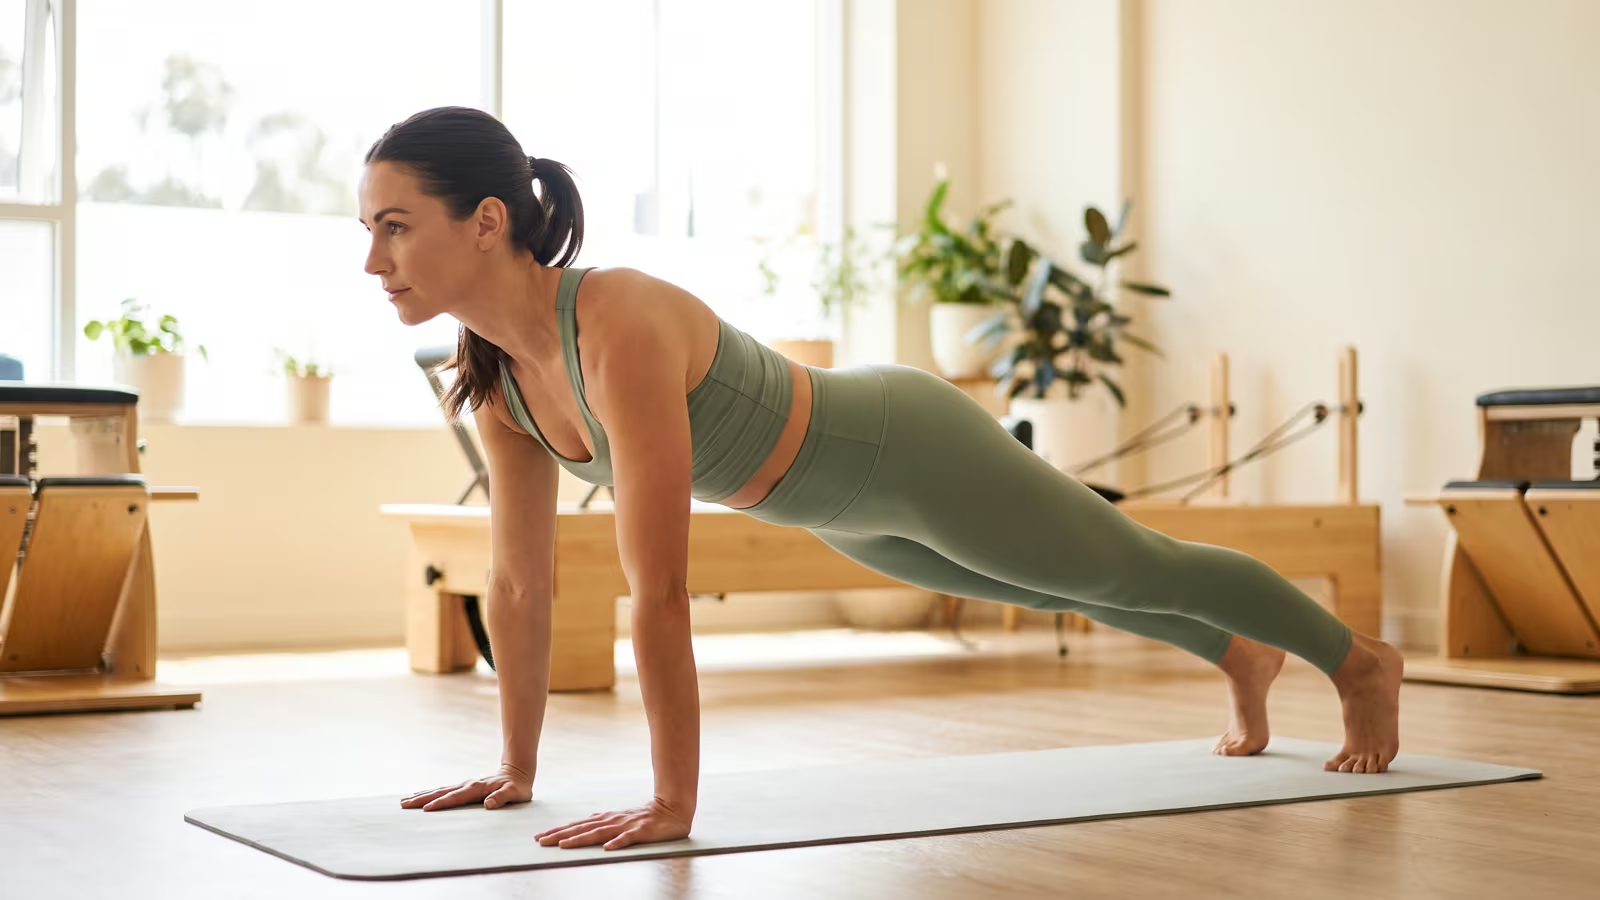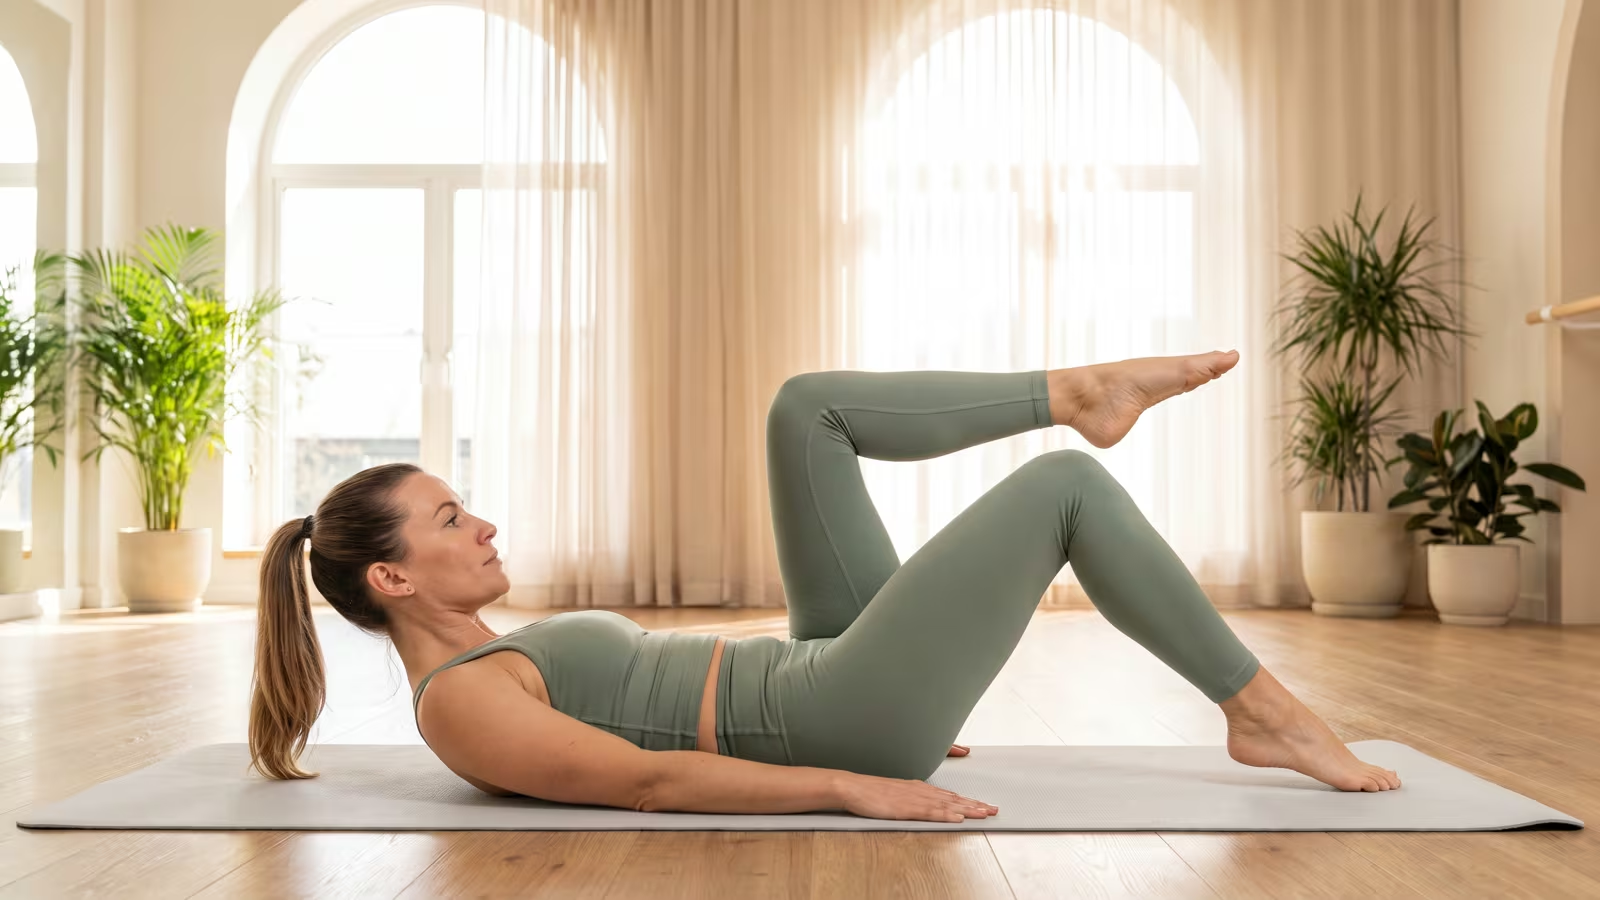
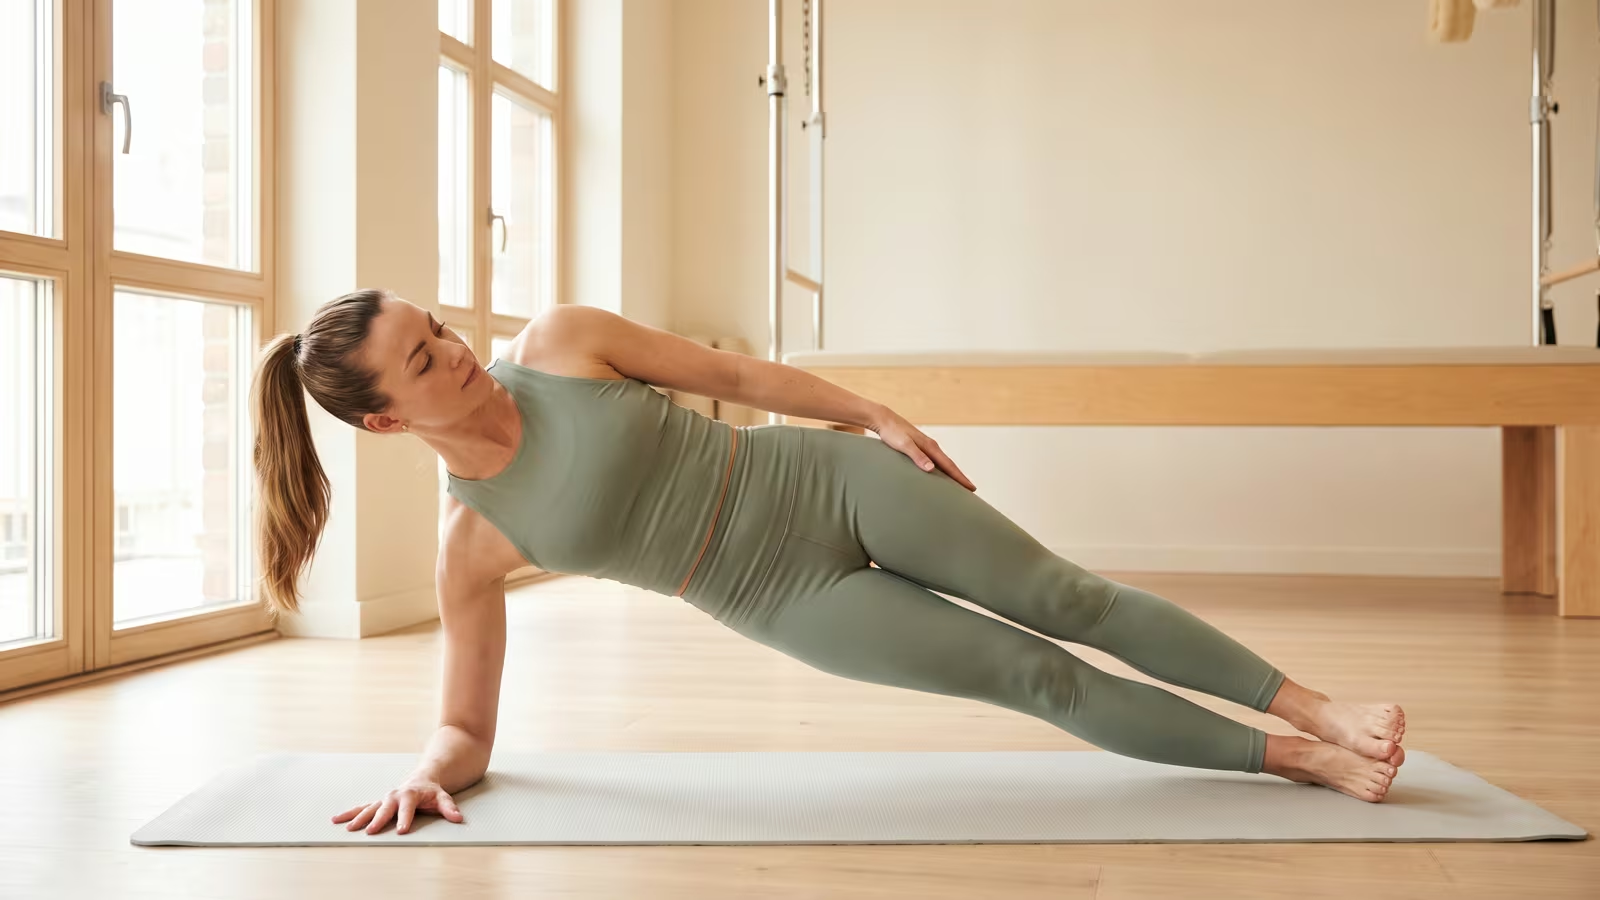
The standard side plank is a fantastic exercise – but if you really want to challenge your lateral core, it is time to make it dynamic. With side plank dips (also known as side hip raises), you rhythmically lower and lift your hips instead of simply holding the position. This dynamic movement works the oblique muscles even more effectively and aids waist toning. Here is how to perform this bodyweight workout correctly – complete with modifications ranging from a gentle starting point to an advanced progression.
Key Takeaways
- Side plank dips train the oblique muscles dynamically rather than just statically.
- The hips lower towards the floor in a controlled movement before rising back into a straight line.
- Proper elbow alignment is vital: keep the elbow directly beneath the shoulder, maintaining shoulder stability.
- Beginners can perform the exercise on their knees, whilst advanced exercisers can balance on extended legs.
- This dynamic variation provides the ideal complement to the static side plank.
Side plank dips benefits: why dynamic movement beats a static hold
The classic side plank trains your lateral core isometrically through a static hold. Adding a pelvic lift introduces a dynamic movement: as your pelvis lowers and rises with each repetition, the oblique muscles work through their full range of motion. This provides an additional training stimulus that promotes waist toning more effectively than holding alone, whilst reinforcing shoulder stability and muscular endurance. Both variations have their place – but if you can already maintain clean spinal alignment in a standard plank, dynamic dips will take your core strength to the next level.
How to do side plank dips with proper form
Set up in a side plank position: ensure proper elbow alignment directly under your shoulder, stack your extended legs, and keep your body in a straight line. Draw your navel inwards to activate your lateral core and hip abductors. Now, lower your pelvis slowly and in a controlled manner towards the floor without resting it down, then actively drive it back up slightly above the starting line. The movement should originate entirely from your waist, not from momentum. Keep your shoulder away from your ear, maintain spinal alignment, and exhale as you lift. Switch sides once you finish the set.
Common mistakes to avoid
The most frequent mistake is resting the pelvis on the floor at the bottom of the rep, which releases all muscular tension. Keep the movement fluid without touching the ground. Another common error is letting the hips rotate forwards: your body should remain stacked in a single vertical plane. In addition, shrugging the shoulder places unnecessary strain on the neck; actively press the floor away to maintain shoulder stability. Finally, as always with the side plank, control your pace. Slow, deliberate lowering and lifting is far more effective than rapid bouncing.
Variations: side plank dips alternative and progression options
For beginners, a knee-supported side plank dips alternative is ideal: keep your knees bent on the floor and lift from the torso, which significantly shortens the lever. If the classic version feels too easy, perform it on extended legs and lift the top leg to recruit the hip abductors even further. Pausing at the peak of the pelvic lift for one to two seconds will also intensify the burn. Pair your dips with the static side plank and the Russian twist for a well-rounded waist-toning routine.
Sets and reps: how often should you train?
Aim for 2 to 3 sets of 10 to 15 repetitions per side. Always train both sides equally to prevent muscular imbalances. Two to three sessions a week are plenty to strengthen the lateral core. Make sure your movement remains controlled throughout every set – the moment your hips sag uncontrollably or your shoulder collapses, you have reached fatigue. At that point, switch to the knee variation to keep your technique clean.
Summary
Side plank dips are a fantastic dynamic progression of the side plank and an effective tool for waist toning and lateral core strength. The key lies in controlled movement from the obliques, maintaining correct spinal alignment, and keeping the supporting shoulder stable. If you have mastered the static hold, this is your natural next step. Incorporate side plank dips into your core routine – aiming for two to three slow, controlled sets per side.
Frequently asked questions
Side plank dips muscles worked: which areas are targeted?
The exercise primarily targets the oblique muscles and lateral core, supported by the hip abductors, glutes, and shoulder stabilisers. It is exceptionally effective for waist toning.
What is better: static side plank or dynamic hip raises?
Both complement each other. The static side plank builds isometric endurance, whilst dynamic side hip raises work the muscles through a fuller range of motion for an extra training stimulus.
Are side plank dips suitable for beginners?
Yes, when performed from the knees. Start with this modified variation and only progress to straight legs once you can hold a straight line with confidence.
How many repetitions should I do?
Aim for 2 to 3 sets of 10 to 15 reps per side. Always train both sides equally to avoid developing muscular asymmetries.
Why does my shoulder hurt during the exercise?
This usually happens when your shoulder hunches towards your ear or your elbow is not positioned correctly. Check your elbow alignment so it sits directly under your shoulder, and press firmly into the floor.
Do side plank dips get rid of love handles?
They strengthen and define the underlying oblique muscles. However, visible definition requires overall fat loss alongside a balanced diet – spot reduction of fat in a single area is a myth.
How fast should the movement be?
Slow and controlled. Lower and raise your pelvis deliberately using your waist rather than bouncing. Relying on momentum reduces the workload on your muscles.
Can I do this exercise if I have back issues?
The side plank is generally back-friendly because it reinforces spinal alignment without flexion. However, if you suffer from acute back pain, consult a GP or physiotherapist first and start with the knee variation.