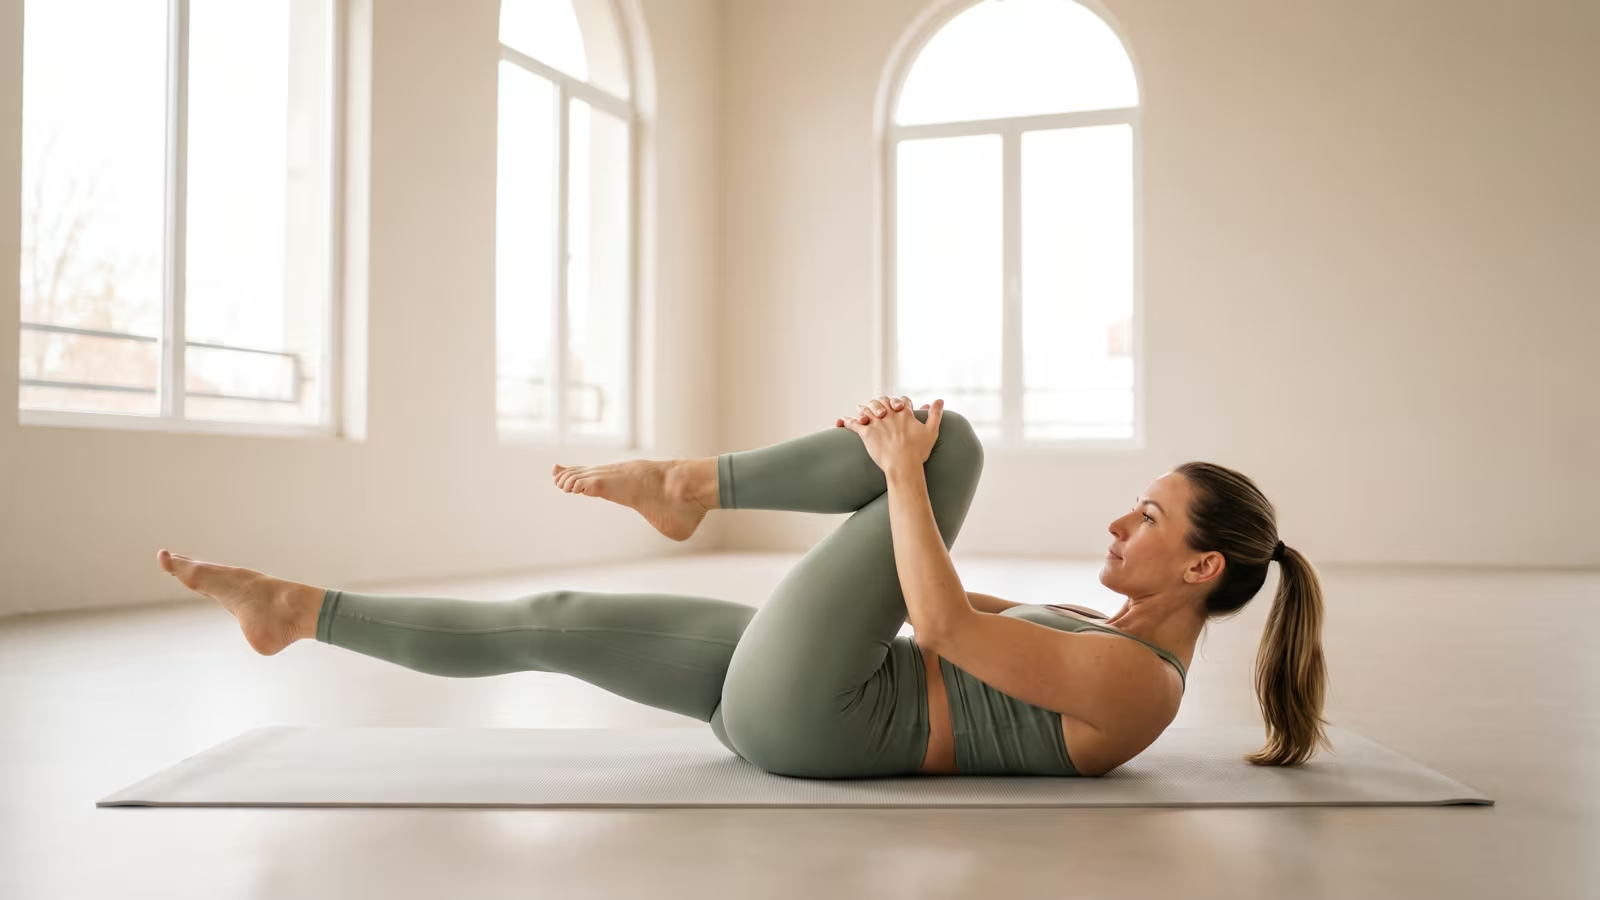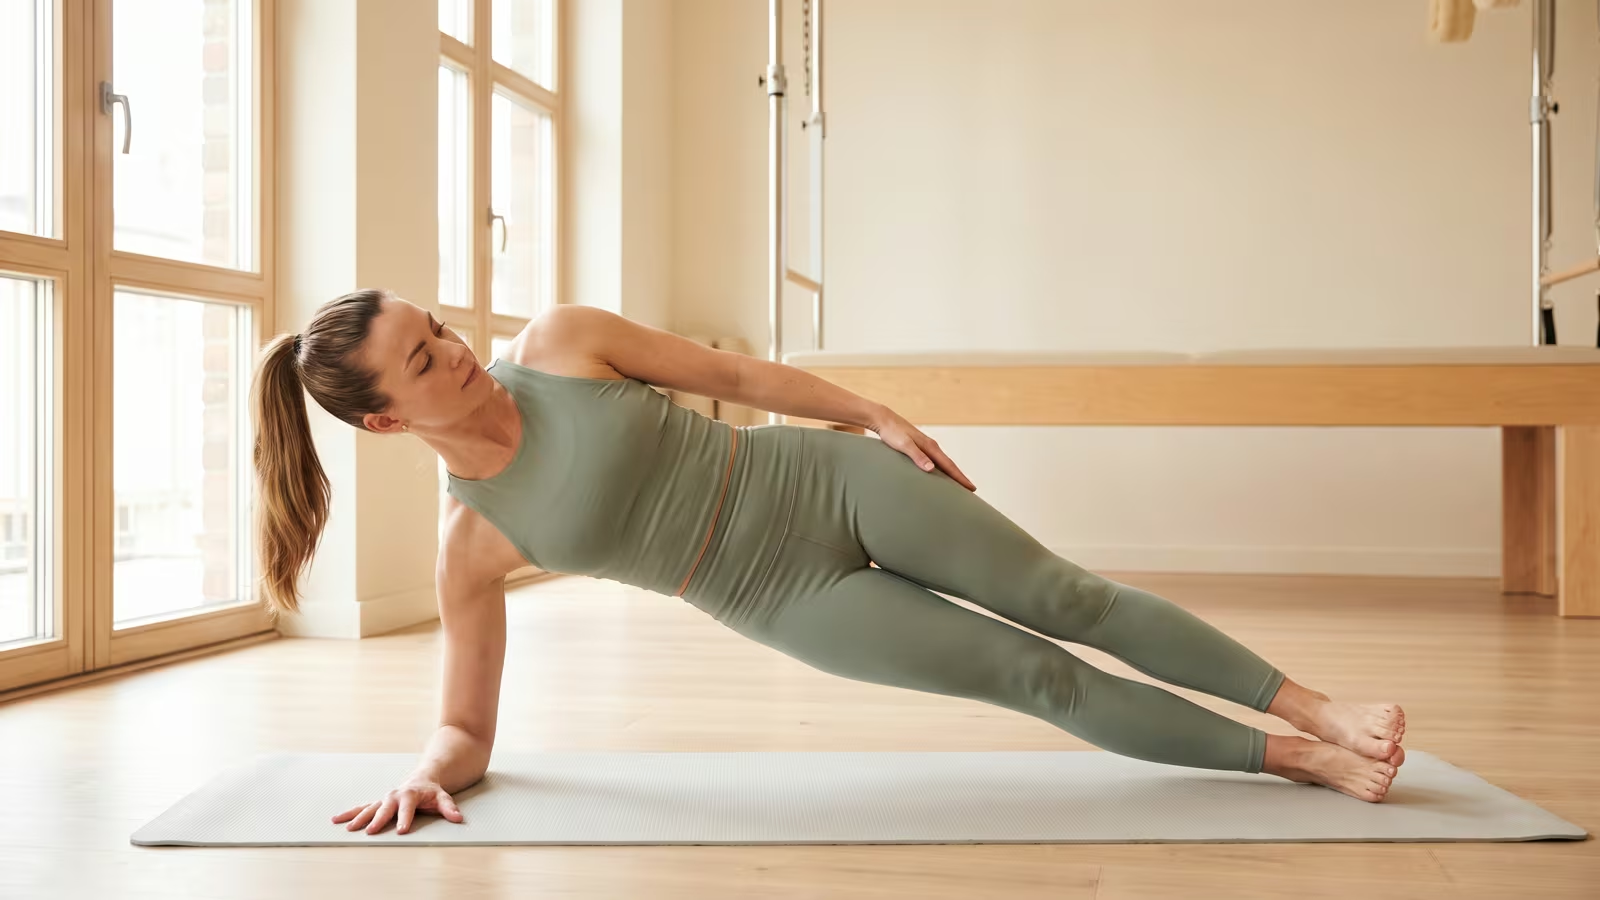
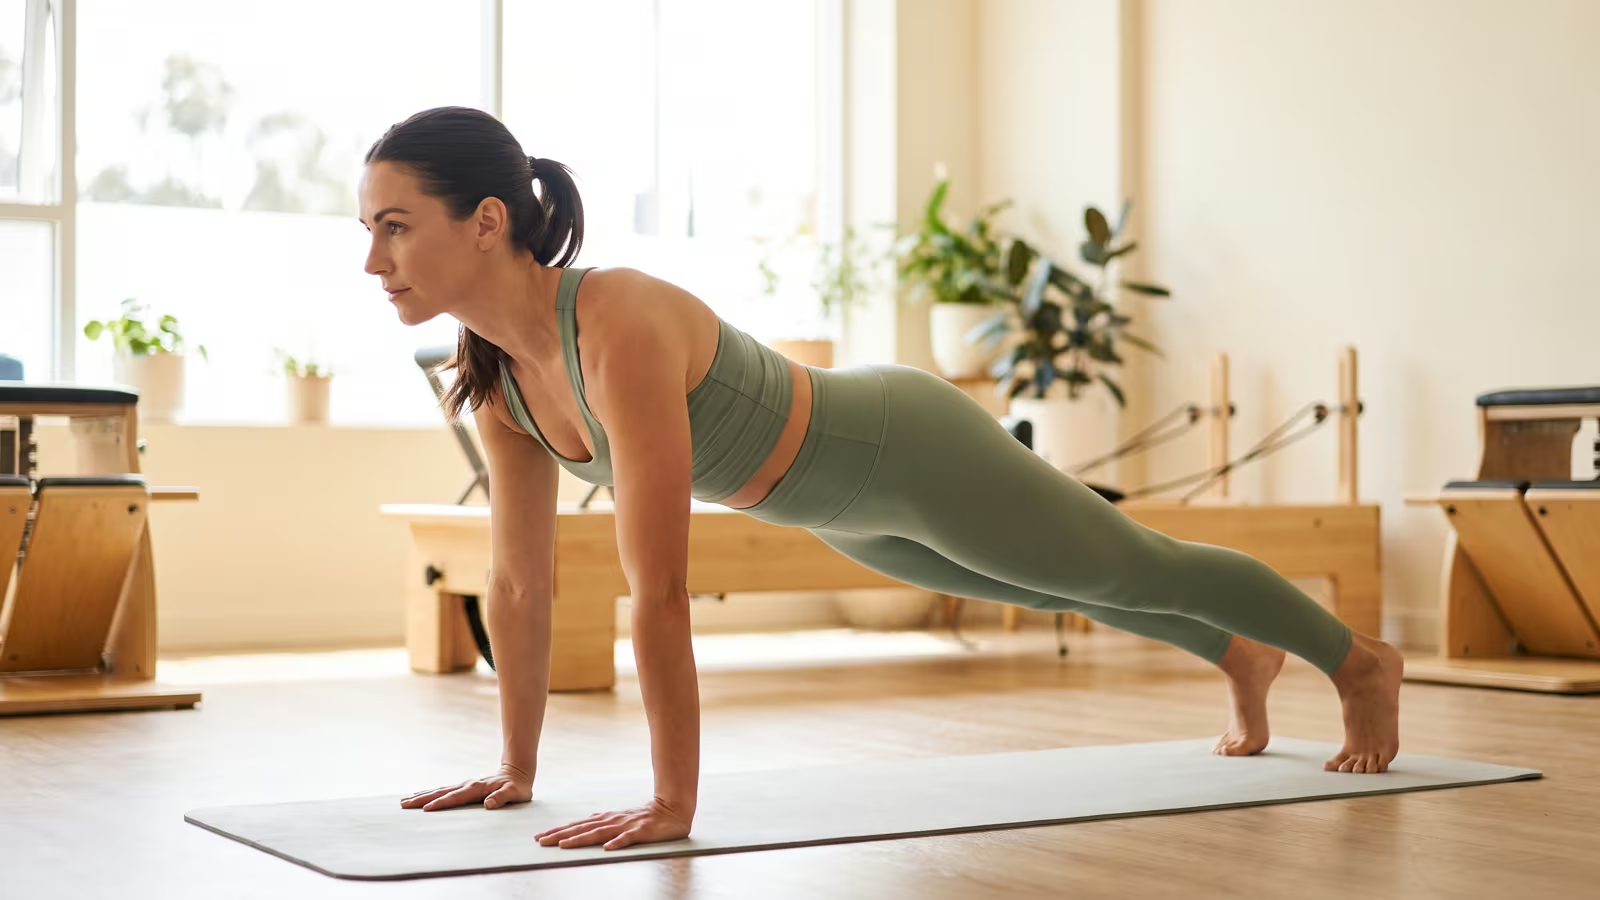
The bear plank looks deceptively simple: you set up in an all-fours position and lift your knees just a few centimetres off the floor. Yet it is precisely this small movement that sparks intense deep core activation. The bear plank is one of the most underrated core movements around—a joint-friendly exercise that you can do anywhere and adapt to any fitness level. Here is how to master the bear plank hold and get the very most out of this isometric hold.
Key Points at a Glance
- The bear plank engages the deep abdominal and core muscles with minimal joint stress.
- Your knees perform a subtle knee hover just a few centimetres above the floor—that is all it takes.
- The back stays flat like a tabletop, with proper shoulder stability directly over the wrists.
- Ideal for beginners and as a stepping stone towards the standard plank.
- Holding the position for just 15–30 seconds delivers a powerful training stimulus—quality always comes before duration.
What Are Bear Planks Good For and Which Muscles Do They Target?
The bear plank is an isometric hold originating from a quadruped all-fours position. As soon as your knees leave the ground, your deep core musculature must work hard to stabilise the pelvis, supported by the rectus abdominis and obliques. At the same time, your shoulders and quadriceps engage to support your body weight. Because your knees remain directly beneath your hips, the lever arm is short and spinal load is kept low—unlike with a standard plank. This makes it one of the safest exercises for developing robust core stability.
How to Do a Bear Plank: Step-by-Step Technique
Begin on all fours: hands beneath your shoulders, checking your wrist alignment, and knees directly under your hips. Tuck your toes under and engage your abdominal bracing by drawing your navel gently inward. Push actively through your shoulders and lift your knees just a few centimetres off the mat. Maintain a flat back that is as steady as a tabletop, ensuring your pelvis does not tilt. Hold this posture whilst continuing to breathe steadily. Once your time is up, lower your knees with control. Imagine balancing a glass of water on your lower back throughout.
Common Mistakes During the Bear Plank Exercise
The most frequent mistake is an arched or sagging back: the moment your pelvis tilts, you lose abdominal tension. Keep a conscious flat back at all times. A second error is lifting the knees too high—a hover of a few centimetres is plenty; anything higher changes the mechanics of the movement unnecessarily. Hunching the shoulders and holding your breath are also common pitfalls. Press the floor away actively, keep your neck long, and maintain smooth, regular breathing to keep your form spot on.
Variations: Making the Exercise Easier or Harder
If holding the posture feels too demanding at first, start in a static all-fours position and practise abdominal bracing without lifting your knees. Once the basic hold becomes easy, lift one hand or foot alternately, or reach opposite arm and leg out simultaneously—this challenges your anti-rotational stability considerably more. Introducing a slow “bear crawl” is another excellent progression. The bear plank serves as an ideal bridge to the plank and pairs brilliantly with the dead bug.
Who Is the Bear Plank Suitable For?
The bear plank is exceptionally beginner-friendly: thanks to the short lever and reduced load on the spine, it is well suited to anyone who finds standard planks uncomfortable or aggravating to the lower back. It also offers a safe, accessible entry point into core training for those over 50 or returning after a training break. Advanced trainees can use it as an activation drill or progress to dynamic variations. If you have sensitive wrists, placing a folded exercise mat beneath your palms or resting on your fists can provide relief.
Summary
The bear plank proves that a subtle movement can deliver remarkable results. Hovering your knees just centimetres off the floor recruits the deep stabilising muscles thoroughly—with minimal strain on your back and joints. As a stepping stone to the plank and a reliable beginner movement, it is hard to beat. Give the bear plank a try in your next workout: hold for 15 to 30 seconds with a flat back and feel your core switch on.
Frequently Asked Questions
Which muscles does the bear plank target?
Primarily the deep abdominal and core stabilisers, alongside the shoulders and quadriceps. It builds solid midsection stability with minimal stress on the joints.
How high should I lift my knees during a bear plank?
Only a few centimetres off the floor. That is all you need—even this slight hover immediately forces the core to stabilise the body.
Bear plank vs regular plank: is the bear plank easier?
Yes, in most cases. Because your knees stay positioned under your hips, the lever is shorter and less load is placed on the lower back, making it an excellent regression or precursor to the full plank.
How long should you hold a bear plank?
Aim for 15 to 30 seconds with clean form and a neutral spine to begin with. Performing multiple short, high-quality sets is far more beneficial than a prolonged hold with a sagging lower back.
Is the bear plank good for your back?
Yes, it is generally considered very back-friendly because the spine remains neutral and stable with a short lever. If you are experiencing acute back pain, check with a GP or physiotherapist first.
Does the bear plank put strain on the wrists?
Those with sensitive wrists may find supporting their weight uncomfortable. Placing a folded mat under the palms or performing the hold on closed fists can help relieve pressure.
How can I make the bear plank more challenging?
Try lifting one hand or foot off the floor alternately, extending opposite arm and leg, or crawling forward and backward slowly in a bear crawl.
Is the bear plank suitable for beginners?
Very much so. It is one of the safest introductory exercises for core training and can easily be simplified further by keeping the knees grounded on all fours.